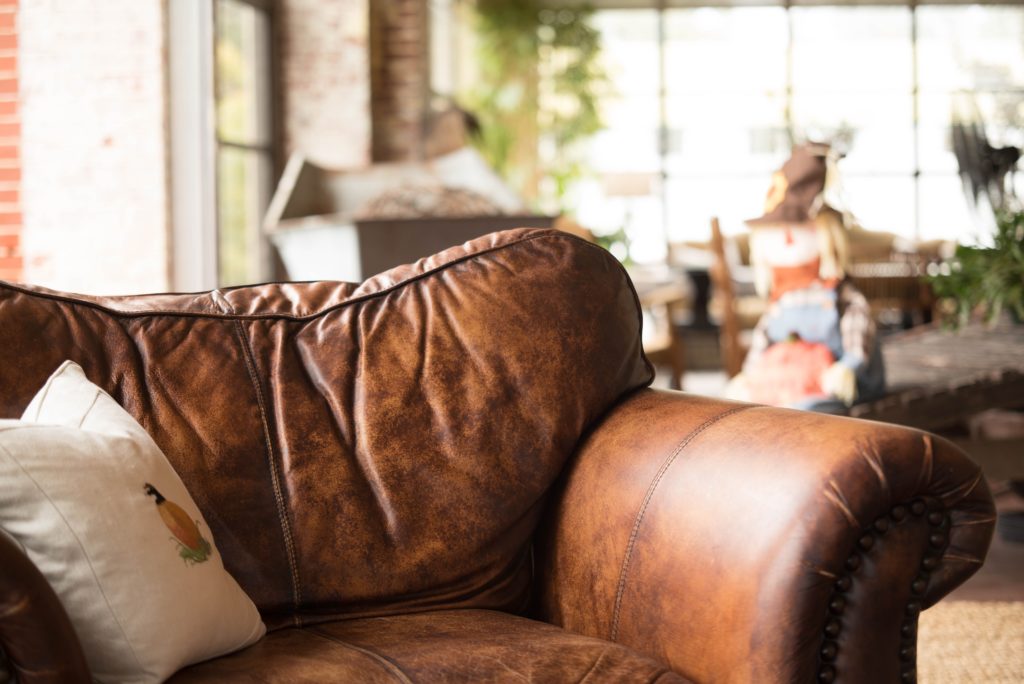
While leather furniture is great at resisting stains, it isn’t completely impervious to all damage. Sometimes, rips and tears happen, even to high-quality sofas. In this post, we’re going to review some specific fixes for DIY leather furniture repair as well as some maintenance that you can do for leather repair and to avoid future damage.
How to Regularly Repair Your Leather Sofa
When you own a leather couch, wear and tear from scuffs and dog and cat scratches are bound to happen over time. In fact, large tears may happen as well. This doesn’t mean that your couch is damaged, just the upholstery. And the good news, it can be fixed. Here’s how you can repair small scratches and large tears while restoring the leather color with a few quick steps.
7 Steps to Repair Minor Tears in a Leather Couch
Here’s a rundown of each of the steps you can go through repair small holes in your leather couch.
1. Clean the surrounding area with rubbing alcohol and a non-abrasive applicator or rag
Use 70% isopropyl alcohol to clean the surface of the damage. Use it sparingly as it can strip the upholstery finish if you’re not careful. This will remove any dirt, grease, or other residues.
2. Apply glue to the underside of the ripped flap
Use an applicator, toothpick, or similar size instrument to apply a thin layer of the glue under each side of the rip flaps. Be sure that the glue you use is labeled for use on your particular type of leather.
3. Reattach both sides of the rip flaps
After you apply the glue, quickly press the flaps together by putting one hand on each side and gently pushing together. Make sure that you are aligning the material correctly so that it doesn’t look uneven and the underside is not visible.
4. Finish the repair by gently sanding the areas
If you used leather glue, you can skip this step. Otherwise, using sandpaper, sand in the direction of the tear until smooth. Be sure to do this before the glue dries. We recommend 320 grit for genuine leather and 500 grit sandpaper for other types of leather. Doing this creates a fine layer of dust that will make a filler in the rip crack and make it blend more naturally with the rest of the upholstery.
5. Dye the damaged area
Apply some leather dye with a damp sponge in a circular motion and allow it to dry. Check the label of your dye to make sure it’s approved for your type of leather.
6. Finish with leather conditioner
If the upholstery looks a bit dull after the process, you can dab some leather finish.
7. Allow the glue to set for 1 hour.
It’s important to let the glue fully set for 1 hour before sitting on your couch or doing anything that will cause the leather to flex.
8 Steps to Repair Large Holes and Major Tears in a Leather Couch
If you have a large tear in your leather couch, you will need to patch to repair it. The following steps will run you through the repair process for patching.
1. Cut your sub patch out
When your tear is so bad that it exposes the substrate, you need a sub patch to prep the repair. Open your repair kit and cut out an appropriately sized piece of sub patch. It should be just slightly bigger than the tear.
2. Insert your sub patch into the hole
Next, using a pair of tweezers, insert the sub patch so that it completely covers the hole and rests between the substrate and the leather.
3. Glue your sub patch to the rest of the leather
Then, take an applicator or toothpick to apply a thin coat of leather glue on the underside of the leather. Press the leather onto the sub patch by gently pushing the tear back into its original place. Wipe away excess glue.
4. Apply pressure to the repair site while it dries
Place a heavy item over the repair area while it dries, at least 30 minutes. Check also to see if the use of a hairdryer is advised to assist the drying process. If you do use one, be careful don’t overdo it as that can cause more damage.
5. Clean the surface
Then clean the area up with 70% isopropyl alcohol to remove excess chemicals that might impede bonding. Also be sure to trim away any loose fibers around the tear.
6. Apply leather filler
If there are any gaps around your repaired tear, you can apply a leather filler with a palette knife to smooth out the surface. Scrape away excess. Allow it to dry.
7. Dye the area
If needed, apply a sparing amount of dye with a damp sponge in a circular motion. Be sure to test your dye on a hidden area first to make sure it blends well.
8. Apply leather finish
Finally, dab a bit of leather finish to restore the luster. Don’t overdo it though, you don’t want it to stand out amongst the rest of the leather.
Maintaining Your Leather Sofa With Consistent Repairs
Now you know how to repair your leather couch so that you can continue to get many years of use out of it. It’s important to note, however, that regular maintenance can help to avoid some of these issues in the first place.
Clean your leather seat regularly with a white vinegar solution so that the leather maintains its integrity. In addition, applying a leather conditioner from time to time can also help maintain durability.
If damage does occur, you can follow the steps laid out here or contact a repair service to fix your upholstery and hang on to your investment for longer.


